Installation:
Chrome
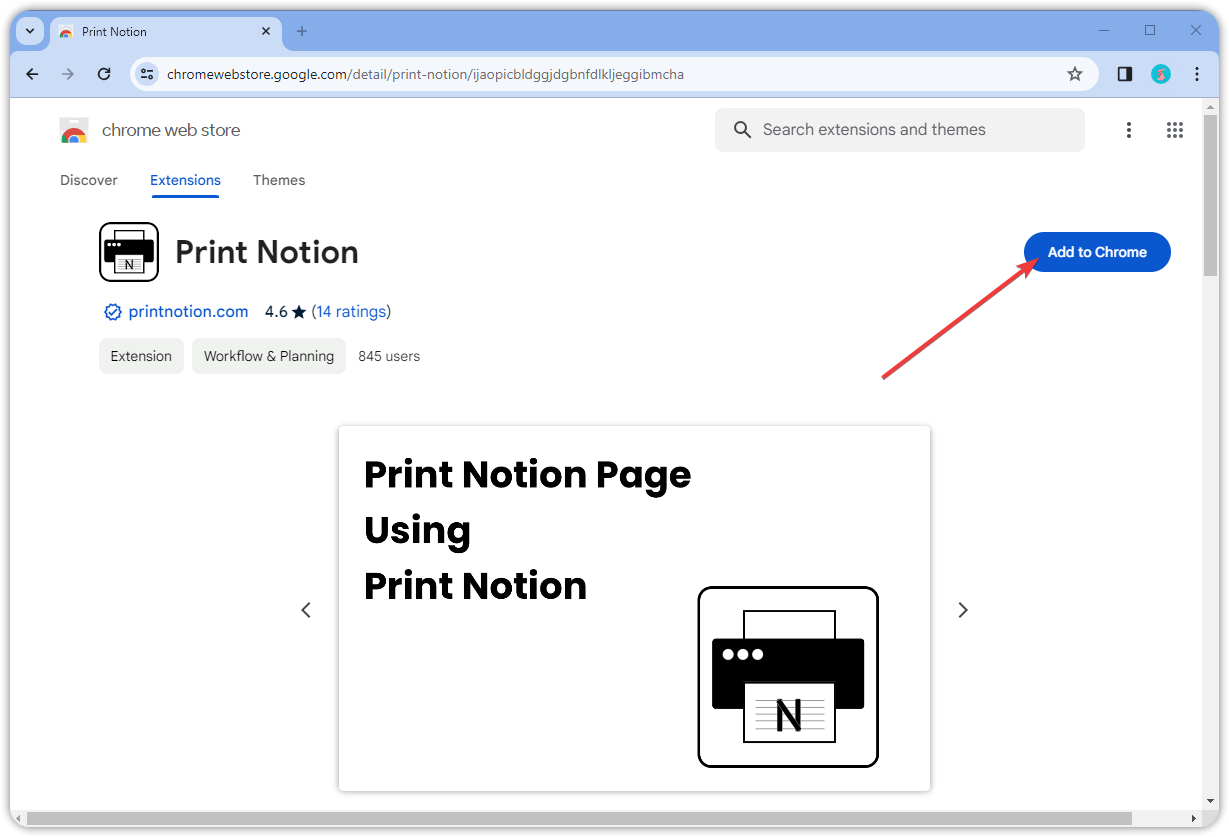
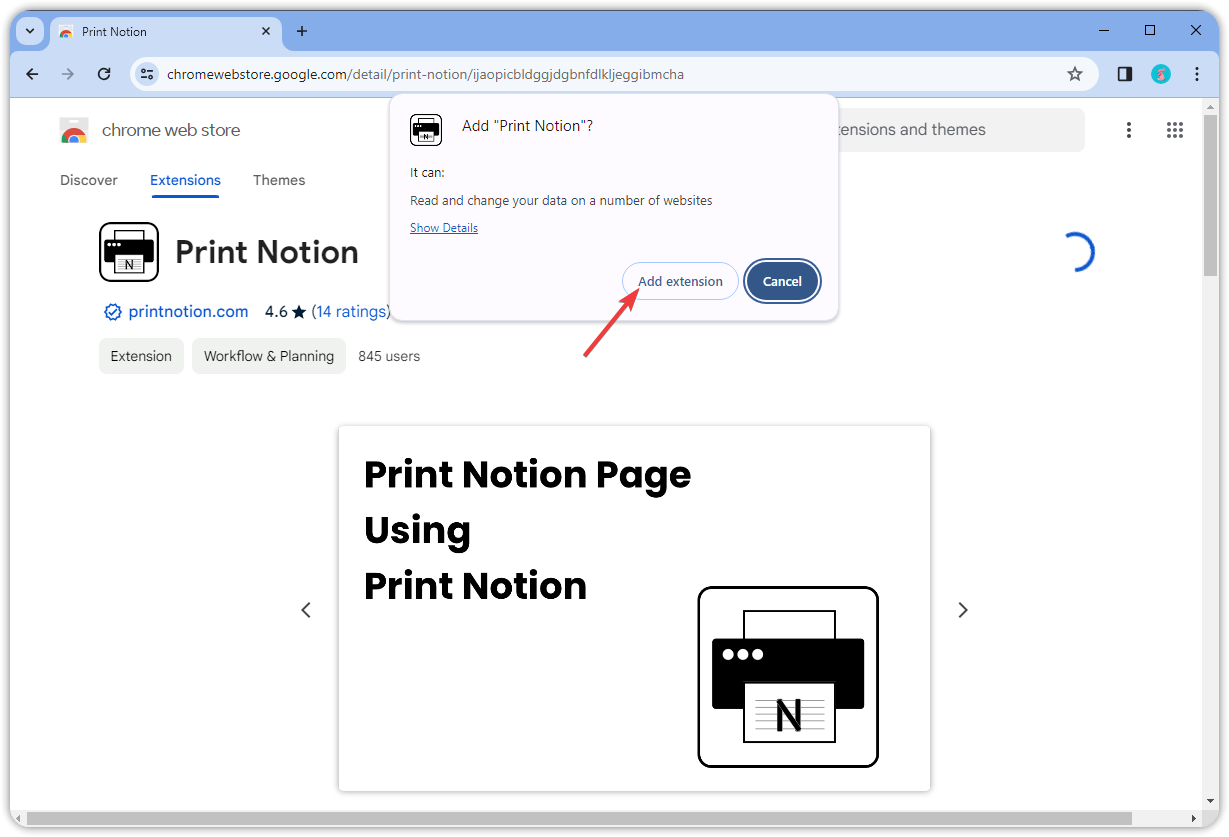
Using Chrome browser, go to Chrome web store, install and enable Print Notion extension.
Microsoft Edge
Using Microsoft Edge browser, go to Edge Add-ons, install and enable Print Notion extension.
Step 1.
Navigate to the Chrome web store, install Print Notion extension.
Step 2.
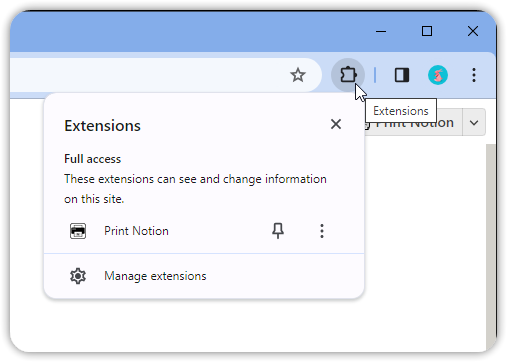
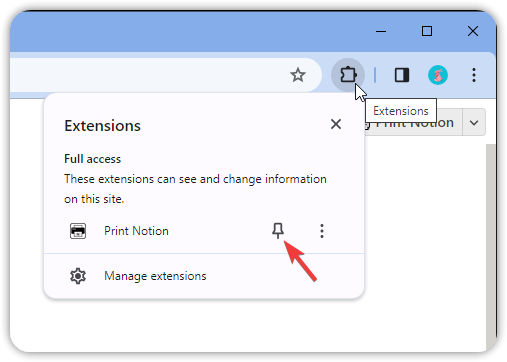
Enable Print Notion.
Quick Start
Prerequisites:
Step 1.
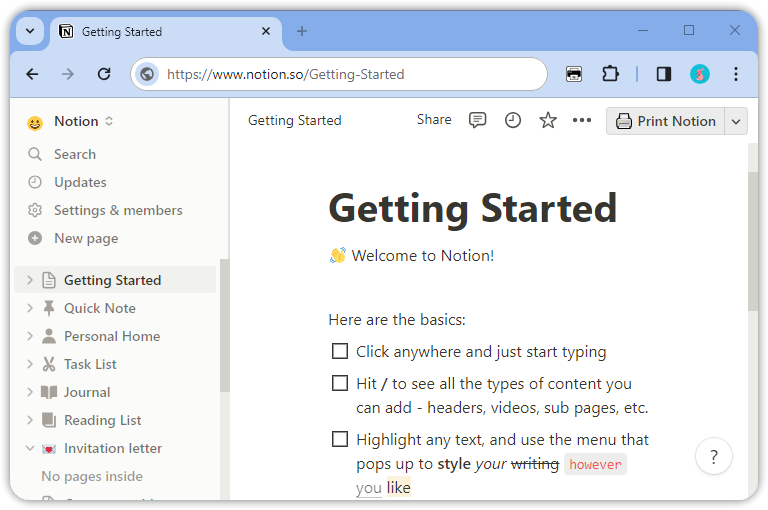
Navigate to the Notion page you want to print.
Step 2.
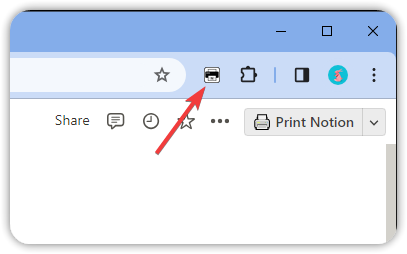
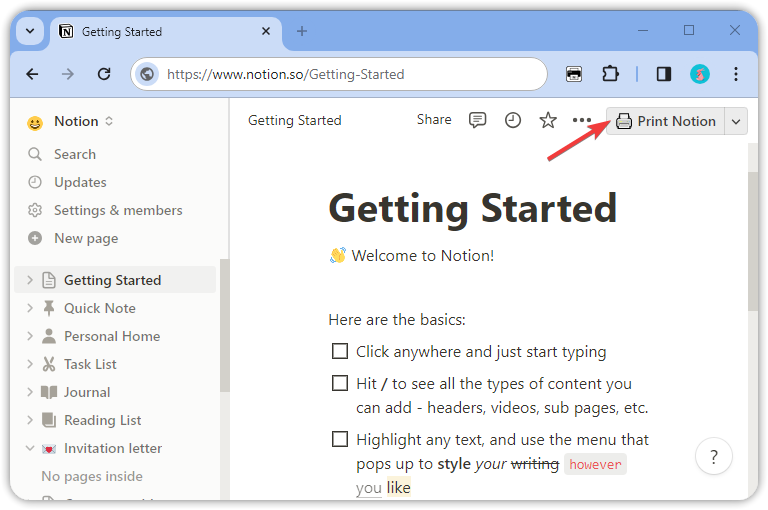
Click the Print Notion button at the top right corner of the Notion Page.
Step 3.
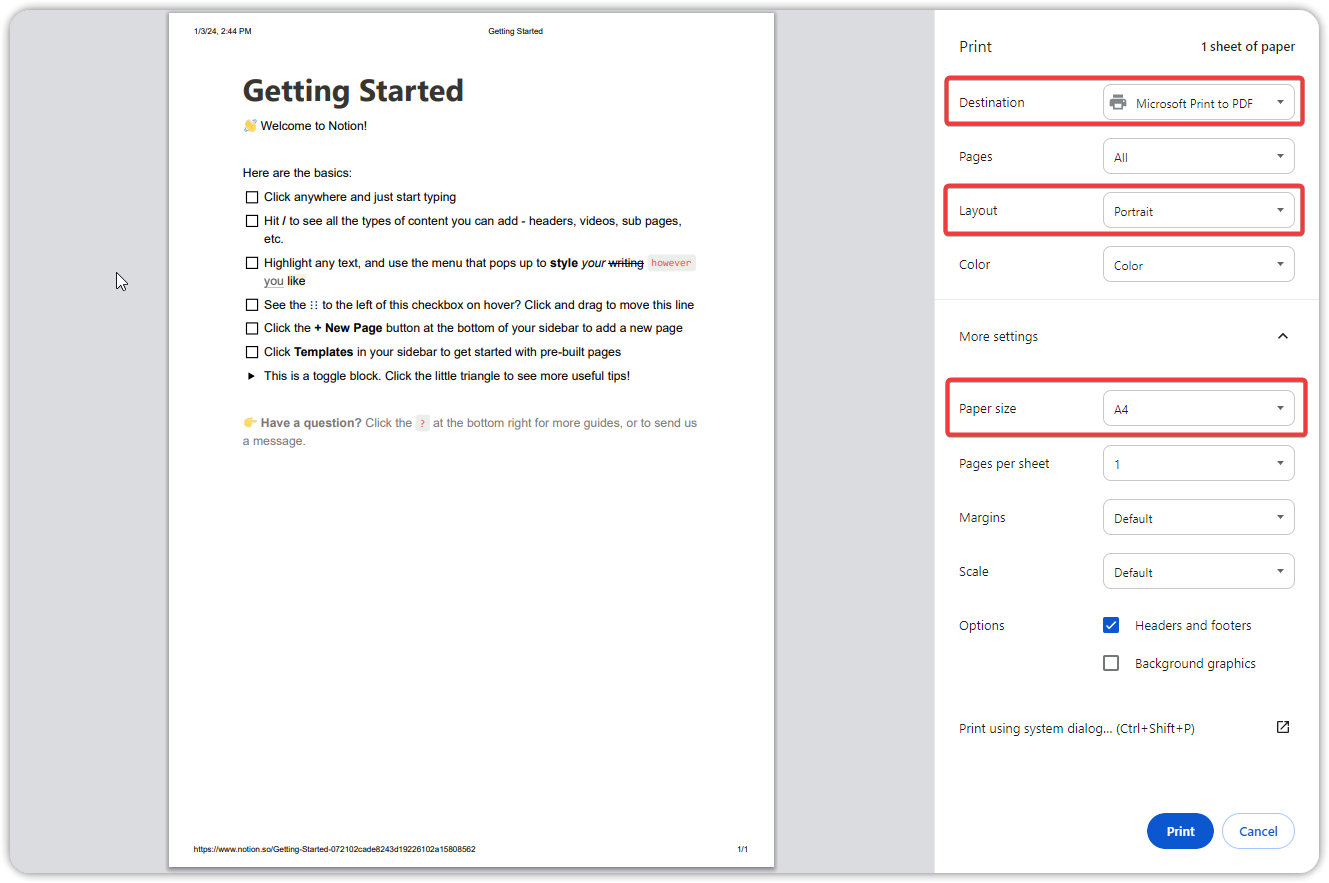
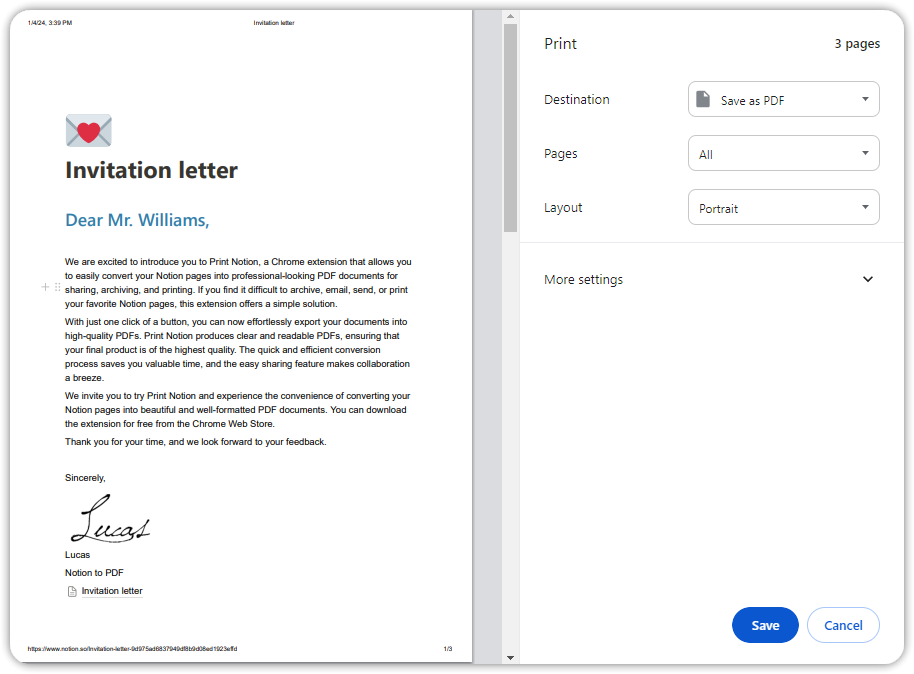
Wait a moment, the print dialog will appear. Here, you can choose your printer or export to a PDF file. Additionally, you can set paper size, orientation, header and footer.
Step 4.
In this example, we will choose to export as a PDF. Click Print after making your selections.
Step 5.
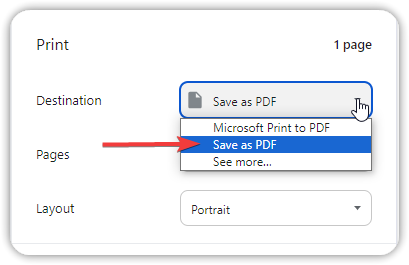
In the pop-up dialog, choose Save to save the PDF file.


Setting up a template
Prerequisites:
Step 1.
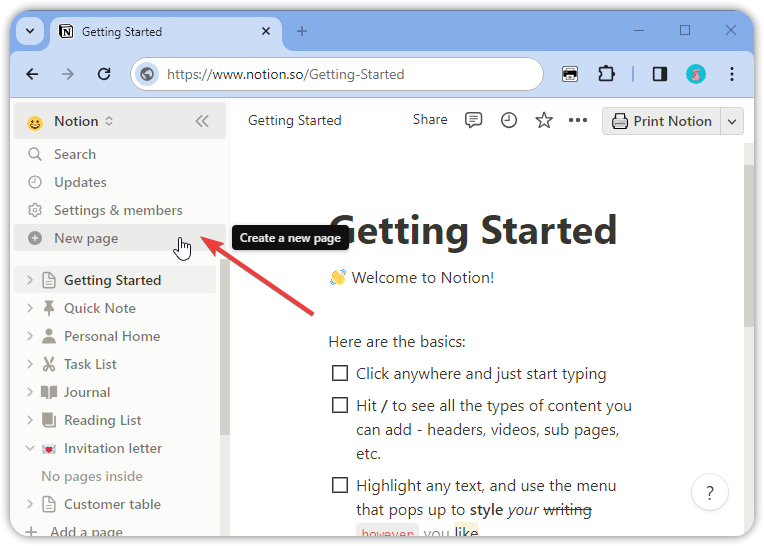
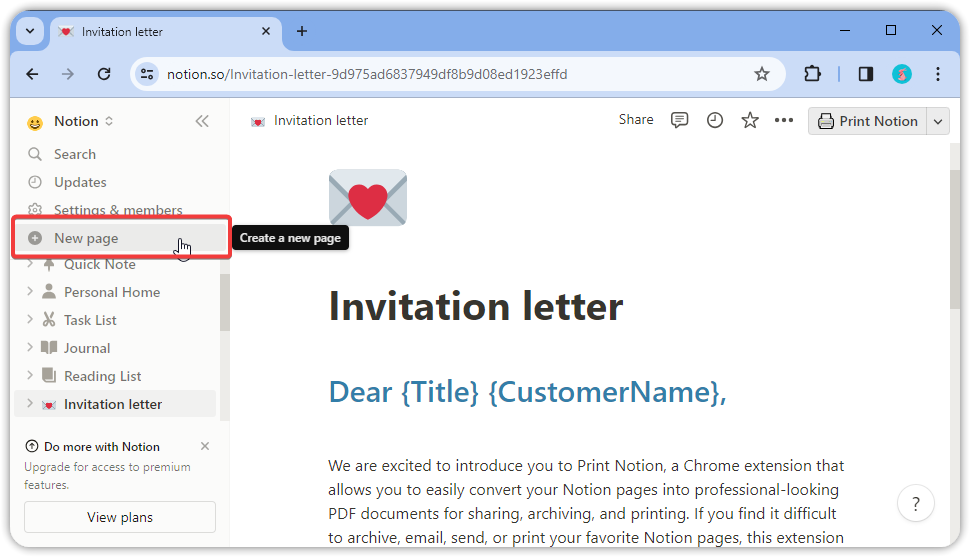
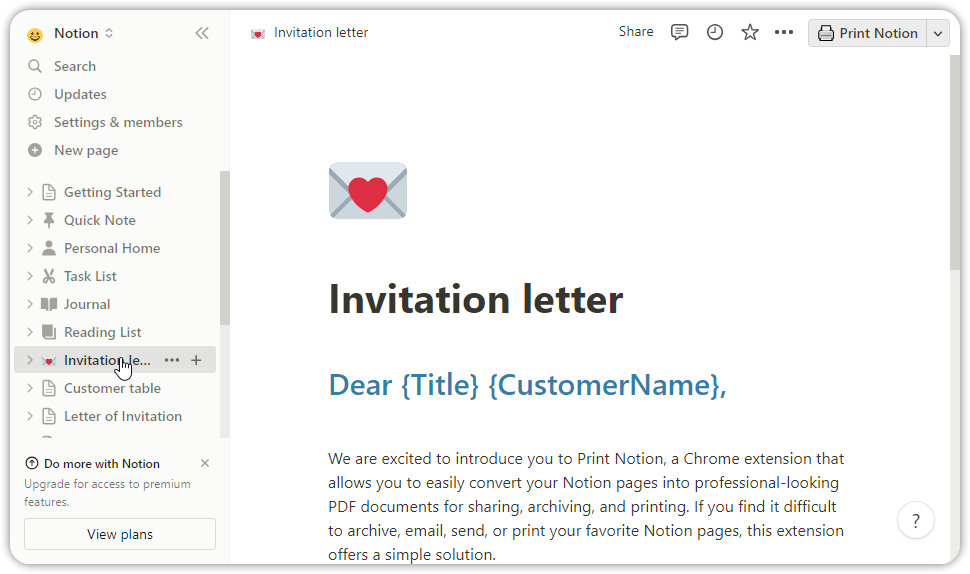
Open Notion and create a new Notion Page.
Step 2.
Write the page content.
Step 3.
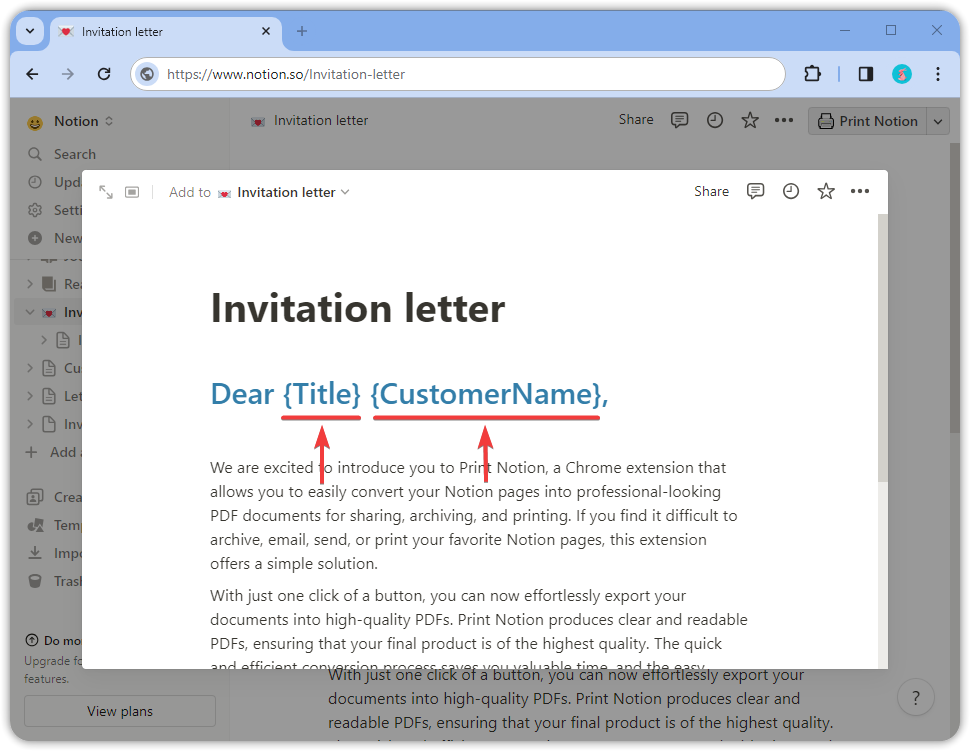
Configure parameters.
Parameter rules are as follows:
- Enclose the parameter with {}.
- Parameter can use upper and lower case letters, numbers and underscores.
- The same parameter can appear multiple times in a Notion page.
- Parameter cannot contain spaces.
- There should be no spaces between the parameter name and {}.
- {} cannot be nested.
| Examples | Correctness | Reason for Incorrectness |
|---|---|---|
| {title} | ✅ | |
| {123} | ✅ | |
| {title_123} | ✅ | |
| {title} {Title} | ✅ | Correct, but these are two different parameters |
| {title 123} | ❌ | Parameter names cannot contain spaces |
| { title_123} {title_123 } | ❌ | There should be no spaces between the parameter name and {} |
| {title_123{title_123}} | ❌ | {} cannot be nested |
Step 4.
Remember the parameters, which will be used when setting up the data table.
| Parameter | Usage |
|---|---|
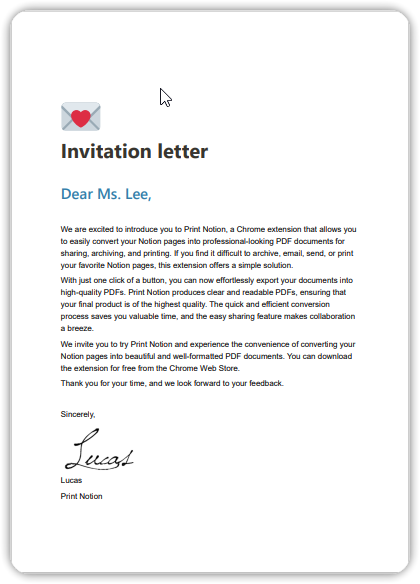
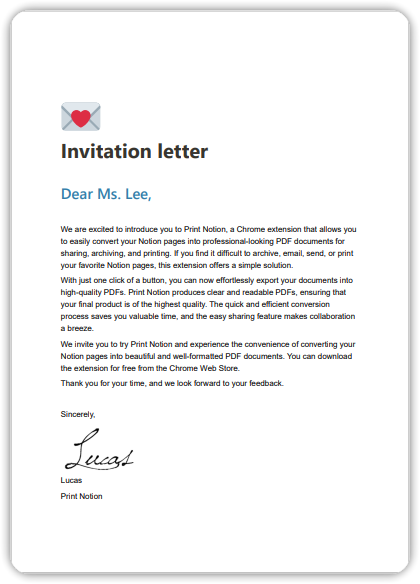
| {Title} | Customer Salutation |
| {CustomerName} | Customer last name |
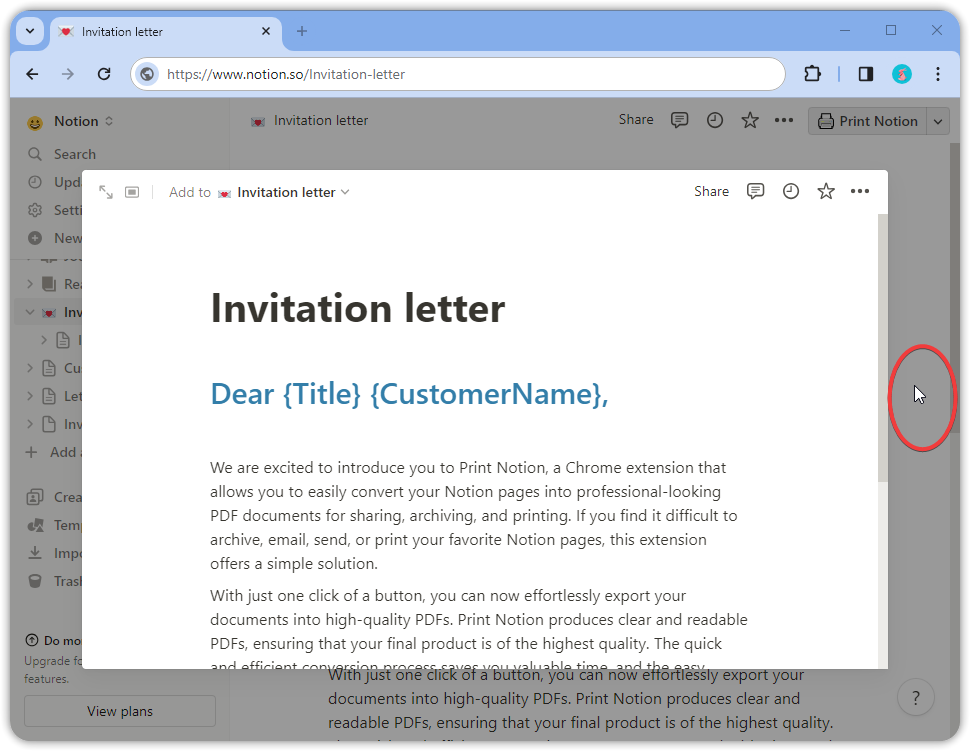
Step 5.
Once the template has been edited, close the Notion page by clicking on the blank space (Notion will save it automatically). Now you can proceed to set up a data table.
Setting up data table
Prerequisites:
Step 1.
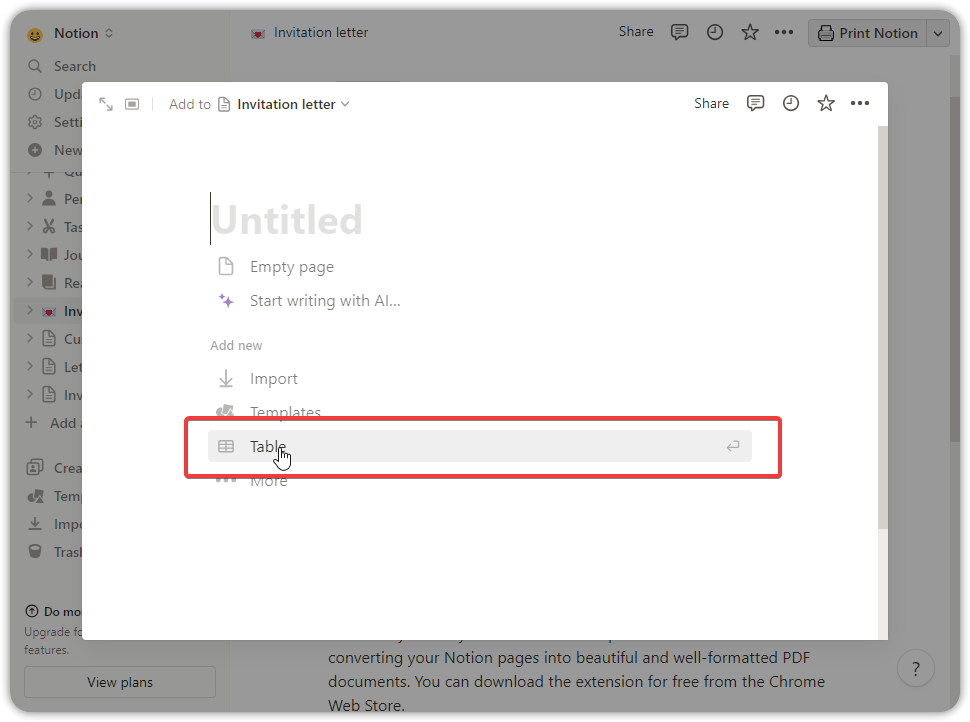
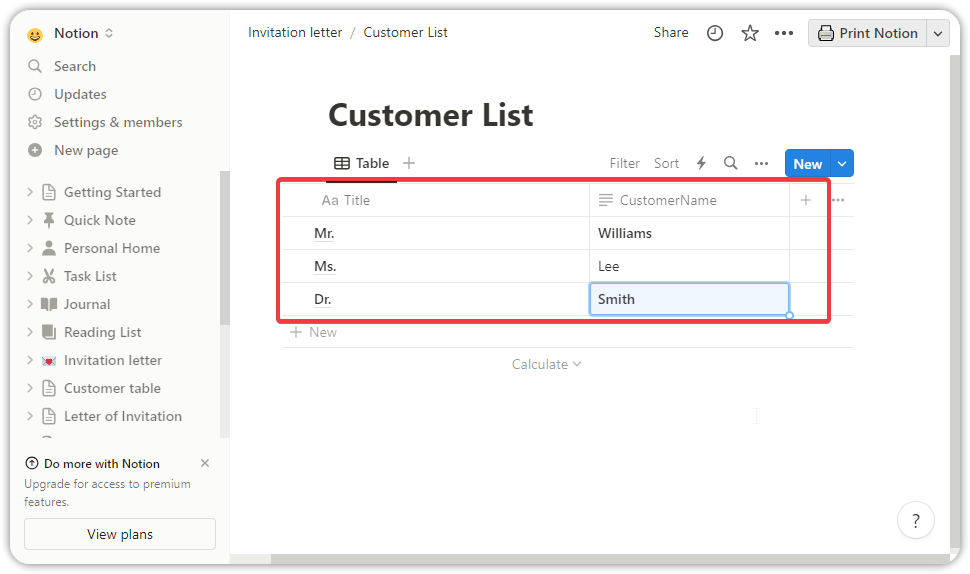
Open Notion and create a new table.
Step 2.
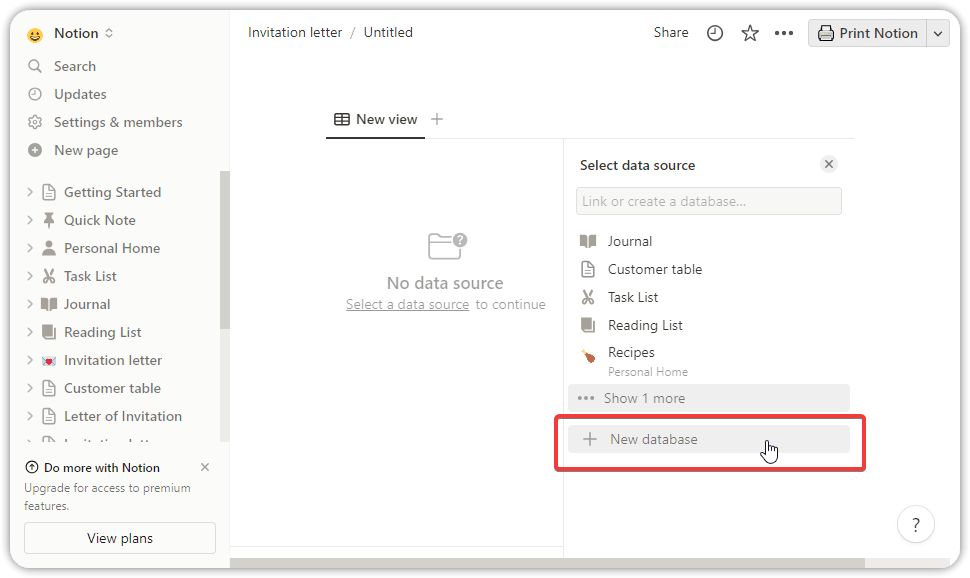
Create a new database.
Step 3.
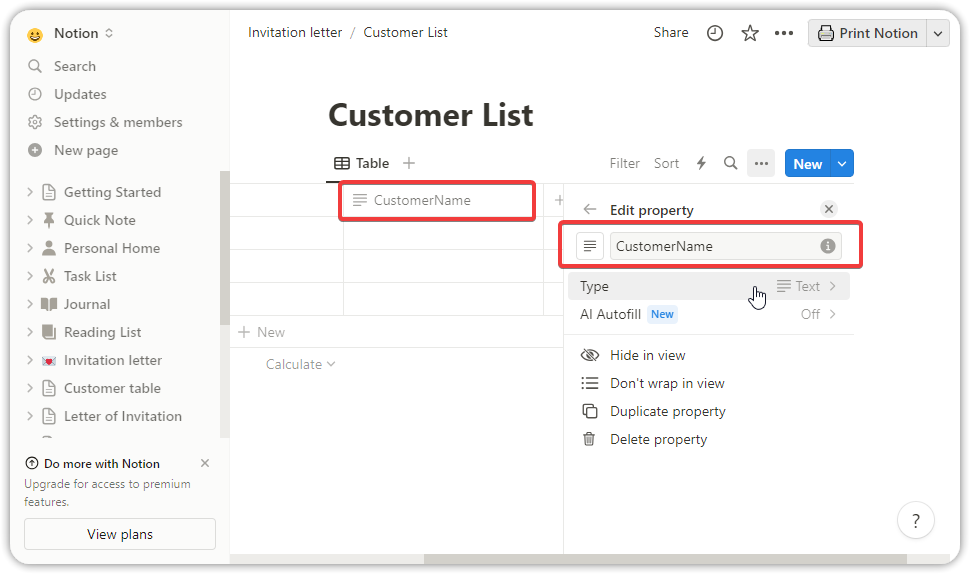
Configure parameters.
Utilize the parameter list documented during template setup to configure column names and data types for the table header (currently, formula columns are not supported).
Step 4.
Add data to the table.
Step 5.
Once the data has been edited, Now you can use templates for printing.
Printing with templates
Step 1.
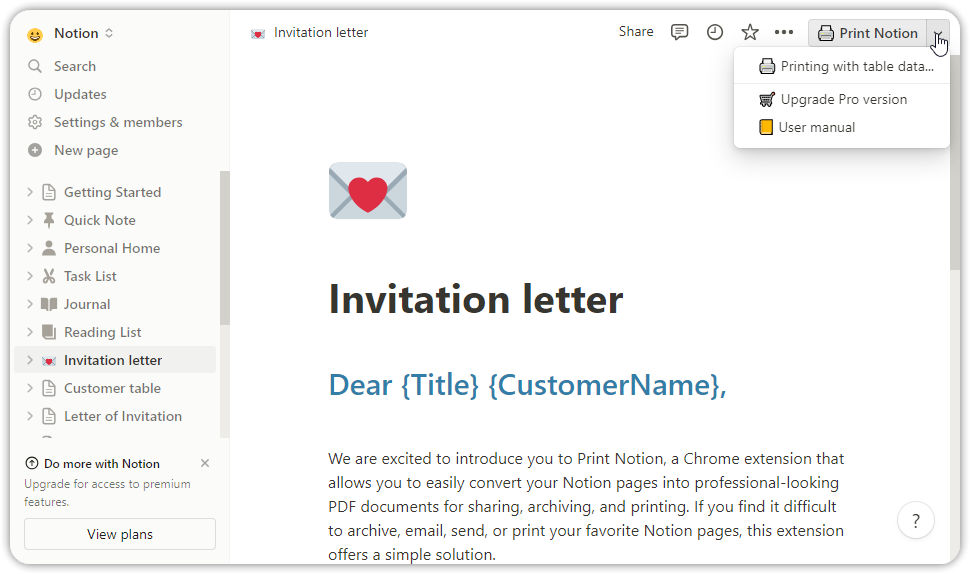
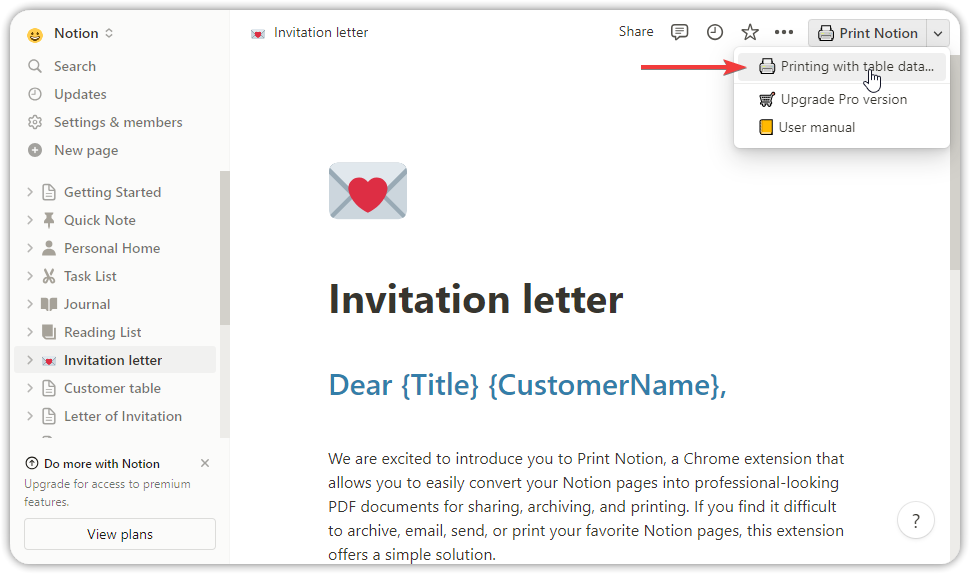
Go to the template Notion page in Notion.
Step 2.
Click the dropdown menu at the top right of the Notion page and click "Printing with table data..."
Step 3.
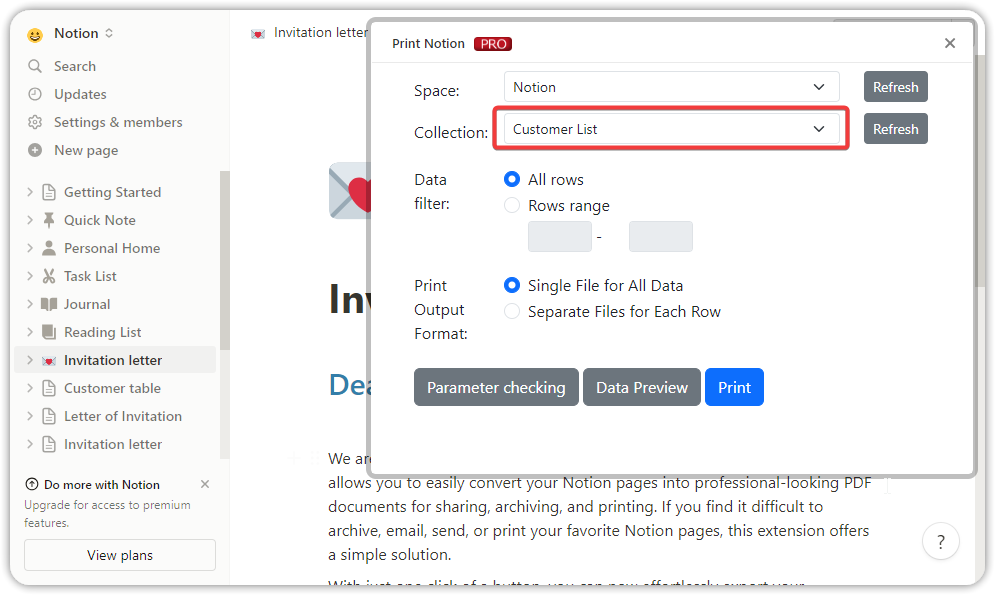
In the inline page, you can choose the Notion Space and Collection(data tale). The refresh button can refresh combobox if your new collection(data table) not include in the combobox list.
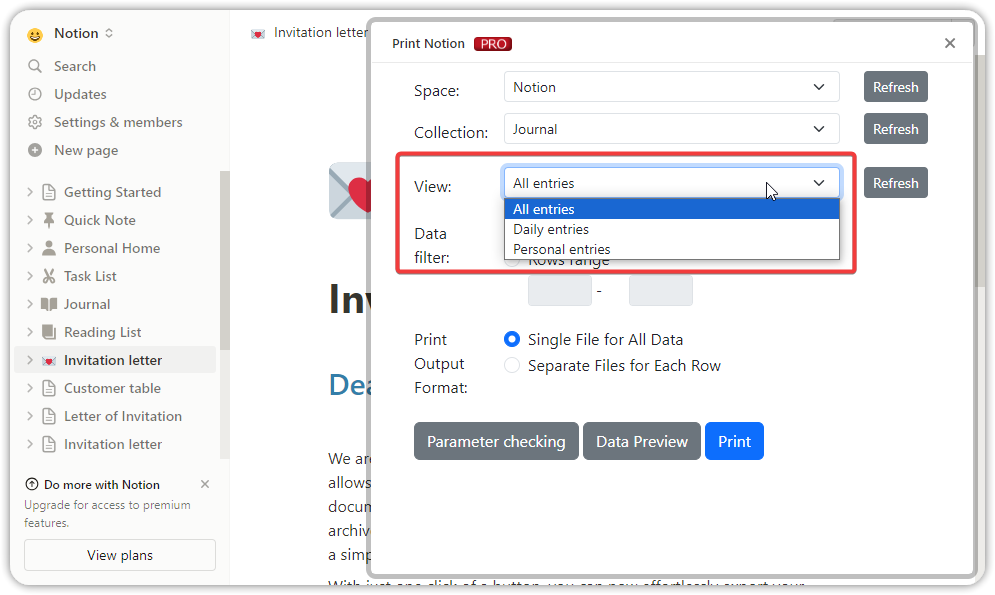
If there are multiple Collection Views, a Collection View selection box will appear; choose the desired Collection View.
Set Data filter:
- All rows: Print all rows from the Collection/Collection View.
- Rows range: Print specified rows within a range from the Collection/Collection View.
Set Print Output Format:
- Single File for All Data: Selected lines of data will be output to a PDF file or a single print job (Note:recommended when printing with a printer)
- Separate Files for Each Row: Export each row to individual files (Note: Due to the individual Print method calls for each row and inability to stop midway, it's recommended to use filtering for large datasets. Recommended for PDF files that require separation).

Step 4.
Parameter checking (Optional step)
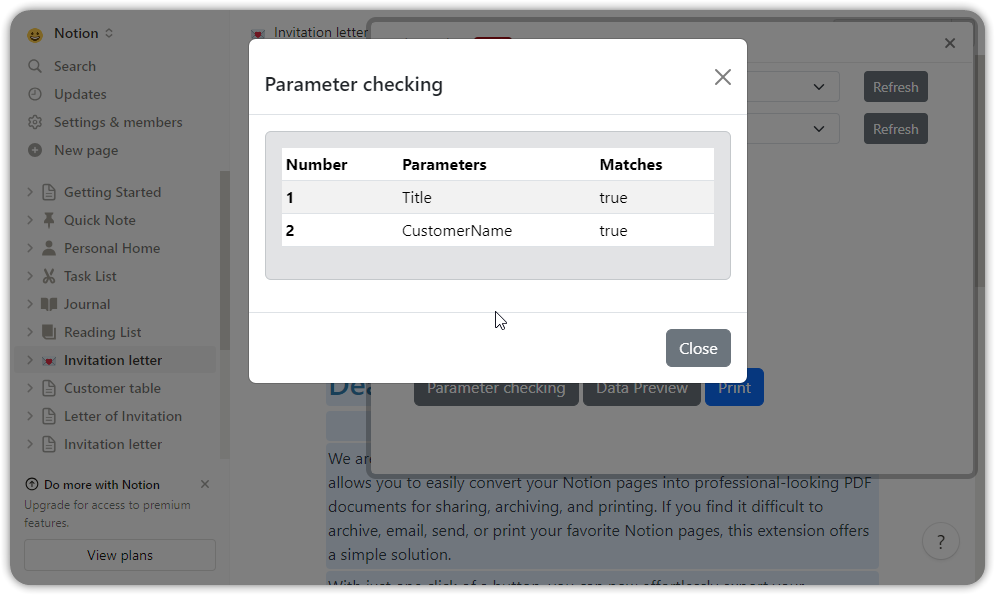
Click the "Parameter checking" button for data validation. it will compare the parameters on the current Notion page with the data table header of the selected Collection / Collection View, showing matched and unmatched parameters. If not matched, check parameters, case sensitivity, and the presence of spaces.
Step 5.
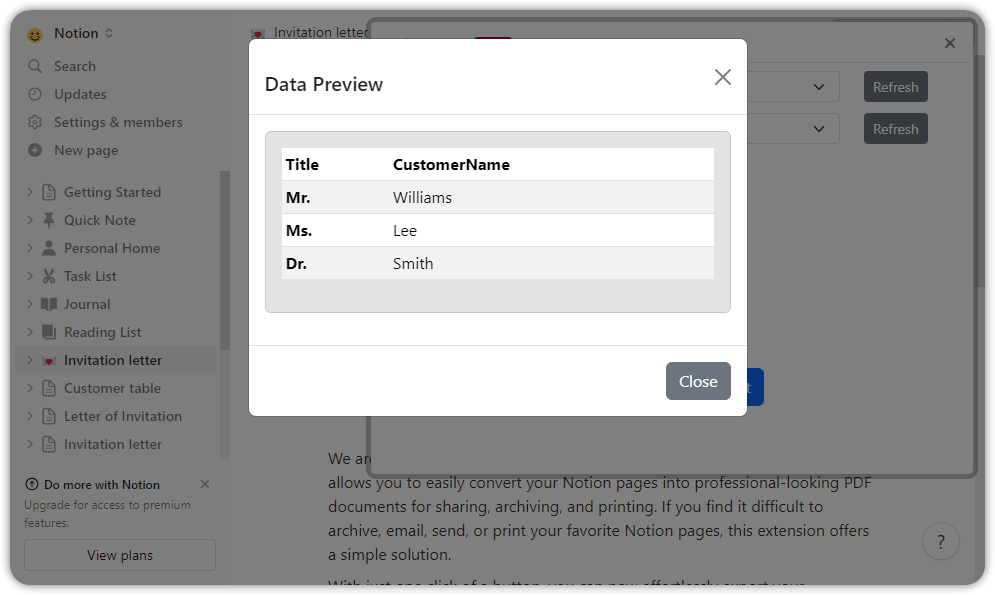
Data Preview(Optional step):
Clicking the Data Preview button will display the data in the selected Collection / Collection View.
Step 6.
Print with templates:
Click Print, wait a moment, and a print dialog will appear.
Here, you can choose your printer or export to a PDF file. Additionally, you can set paper size, orientation, header and footer.
Note:If you select the "Separate Files for Each Row" option, the print dialog box will appear several times.
Step 7.
In this example, we will choose to export as a PDF. Click Print after making your selections.
Step 8.
In the pop-up dialog, choose Save to save the PDF file.

Step 9.
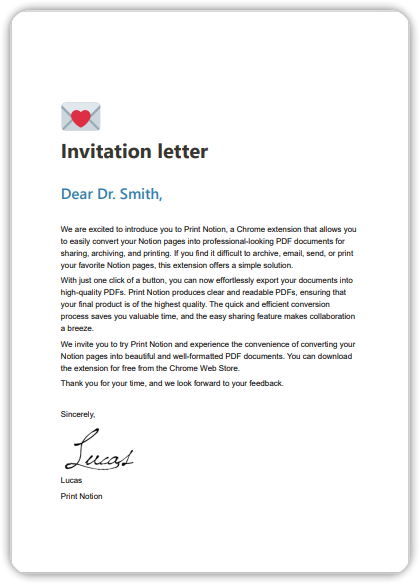
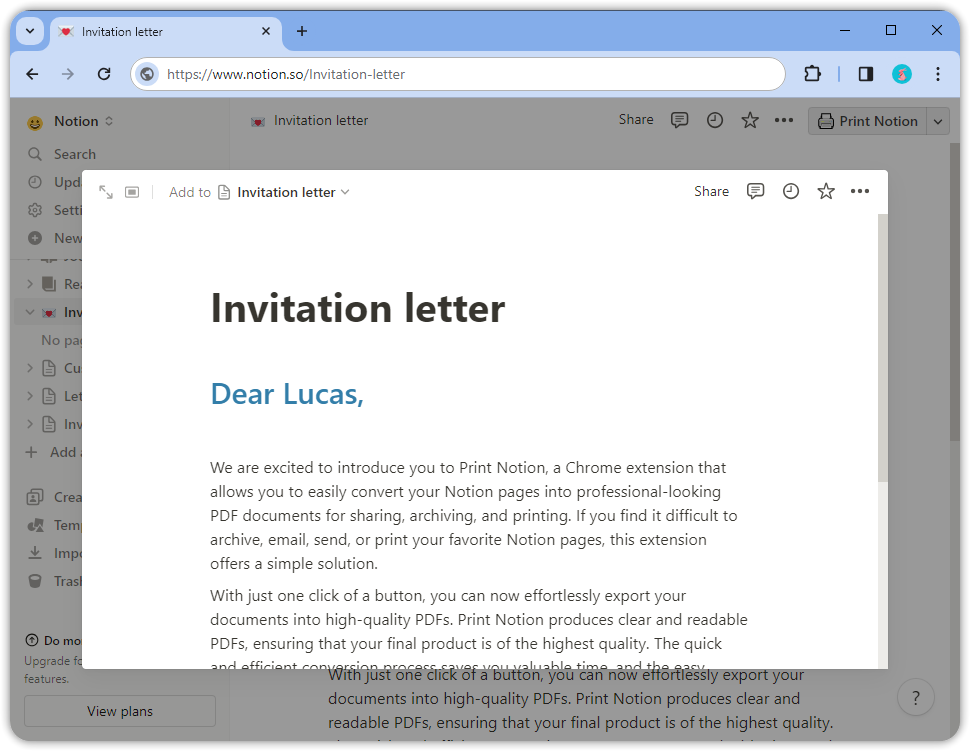
Finally, you can find the printed PDF file in your folder.
You can see that the row data from the data table has been applied to the template and printed out beautifully.